How To Install A Standing Shower Stall
Remodeling a bathroom is one of the most popular home
improvement projects. It's clear that you can add significant value and
convenience to your home by remodeling a bathroom through Shower Remodeling Houston. Hence, lately, more and more people are
eying the shower because it definitely makes their bathroom look bigger and a
lot more functional.
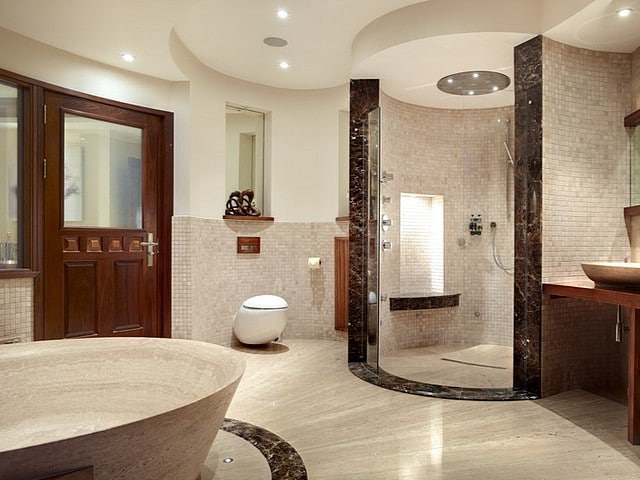
However, contemporary shower stalls can be structurally
constructed in triangular, pentagonal and hexagonal or any other shape in Shower Remodeling Houston, other than
the standard square and rectangular models. In fact, you can get them custom
made to your specification to add a dash of style to your shower remodeling
Houston.
Thus, one of the major advantages of installing the bathroom
shower stalls is that it not so hard to do. Any ordinary handyman can help you
set it up in the room. Below is a tip on
how to install your standing shower, however, you may need to ask the
assistance of Shower Remodeling Houston
if this happens to be your choice.
Firstly you’ll need to temporarily shut off the water to the
shower unit, don't worry once the plumbing is capped off you can turn it back
on. Depending on whether or not you have fiberglass unit, cast iron tub, or
existing tile stall your demo method will differ.
You’ll now determine where you want your new shower valves
and fixtures to go, and rough these now. Hence, in most of the time when a
bathtub has been removed you will need to install the drain to the center of
your new stall area, you can also add are shower niches or soap dishes,
placement and framing of these along with any type "knee or pony
walls" is done now as well,
Pre-sloping of the slab with a form-able mud material will
be installed now. Marking on the slab or sub-floor the final depth of the new shower stall Houston will give you a
stopping point for your pre-slope. Install the shower pan liner attaching it to
the drain and running it up the wall above the height of your seat or around 20
inches.

Then, the installation of a concrete based backer board and
mesh taping the joints will be done now. Once this is done use a waterproof
paint or membrane and cover the entire shower stall except for the floor. When
dry packing the floor on top of the shower pan is very important to keep at
least 1/4 inch per 3-foot fall to the drain this will ensure the water will
drain properly.
Thus, after completing this step you are now ready to begin
the installation of your shower floor tile material. Once this is dry the wall
tile installation can begin. After the tile installation is completed you will
need to clean all the tile and grout lines before grouting begins.

Comments
Post a Comment